

Key Takeaways
- Old, cracked caulk must be fully removed before applying a new bead for a lasting seal.
- Surface temperature and moisture levels at application time significantly affect adhesion and cure quality.
- A smooth, continuous bead applied at a consistent angle produces the most effective air and water seal.
- Tooling the bead within minutes of application improves both appearance and contact with the substrate.
- Silicone caulk suits high-moisture exterior areas; latex paintable caulk works best for interior trim.
What you will need
Why Caulking Actually Matters
Gaps around windows and doors are among the most common sources of energy loss in American homes. Even a small continuous gap - the equivalent of a small hole in an exterior wall - allows conditioned air to escape and outdoor air to infiltrate, stressing your HVAC system and raising utility bills. Beyond energy, unsealed gaps invite water intrusion that can rot wood framing, feed mold growth, and damage interior finishes over time.
Recaulking is one of the highest-return maintenance tasks a homeowner can perform. It requires no special trade skills, costs very little in materials, and when done correctly, a quality bead lasts five to ten years or longer. The key phrase is done correctly - poorly applied caulk fails quickly and can trap moisture rather than repel it.
If water intrusion is a broader concern in your home, see our guide to interior and exterior waterproofing methods for a fuller picture of how sealants fit into a moisture management strategy.
What you will need
Choosing the Right Caulk for the Job
Not all caulk formulations are interchangeable. Selecting the right type for your specific location prevents premature failure.
- Silicone caulk: Highly flexible and fully waterproof. Ideal for exterior joints, areas with frequent temperature swings, and around metal or vinyl window frames. It does not accept paint, so color-match before purchasing.
- Latex (acrylic latex) caulk: Paintable and easy to tool. Best for interior trim joints and gaps where the surface will be painted. Less flexible than silicone and not suited to prolonged water exposure.
- Siliconized latex caulk: A middle-ground option - paintable like latex but with added flexibility from silicone. A practical choice for exterior wood trim that will be painted.
Check the product label for surface compatibility (wood, vinyl, aluminum, masonry) and the rated temperature range for application. Most caulks should not be applied below 40°F or above 90°F, and the surface must be dry.
Match Caulk Color Before You Buy
Silicone caulk cannot be painted after curing, so purchase a color that already matches your window frame or trim finish. For white vinyl windows, bright white silicone is widely available. For painted wood trim you plan to repaint, an off-white paintable latex is easier to hide under a fresh coat.
Step-by-Step: Applying Caulk That Lasts
Caulk gun
Provides controlled, even pressure to dispense caulk smoothly from a standard tube.
Utility knife
Cuts away old caulk beads cleanly without damaging the surrounding surface.
Plastic scraper or putty knife
Lifts and removes loosened caulk residue from window frames and door jambs.
Caulk finishing tool or moistened finger
Tools (smooths) the fresh bead to improve surface contact and appearance.
Painter's tape
Creates crisp, straight edges on highly visible joints such as interior trim lines.
Isopropyl alcohol
Degreases and cleans the joint surface immediately before application to maximize adhesion.
Remove all existing caulk
Use a utility knife to score along both edges of the old bead, then peel it away in strips. A plastic scraper helps lift residue without scratching vinyl or aluminum frames. Remove every trace - new caulk bonded over old caulk almost always fails prematurely.
Clean and dry the joint thoroughly
Wipe the joint with isopropyl alcohol on a clean rag to remove dust, oil, and any remaining adhesive residue. Allow it to dry completely - this may take 15 to 30 minutes depending on humidity. Do not skip this step; adhesion depends on a clean, dry surface.
Tape off the joint (optional but recommended)
Apply painter's tape along both sides of the joint, leaving the gap exposed. This creates a clean edge and protects painted or stained trim from smearing. Press the tape edges down firmly so caulk cannot bleed underneath.
Cut the tube tip and load the gun
Cut the nozzle at a 45-degree angle, making the opening approximately 3/16 of an inch in diameter - smaller than you might expect. A smaller opening gives you more control. Pierce the inner foil seal with a long nail or the built-in puncture tool on your caulk gun. Load the tube into the gun and advance the plunger until caulk just reaches the tip.
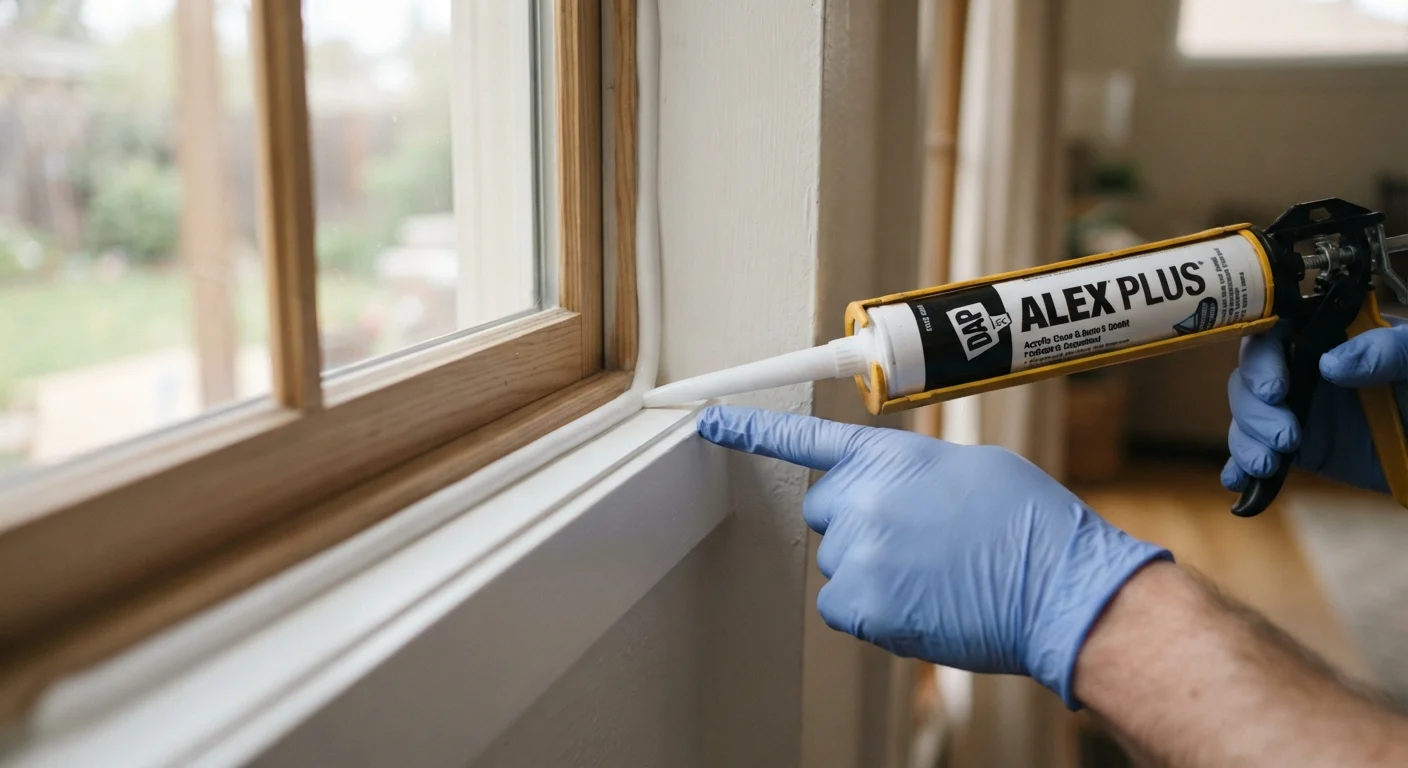
Apply a continuous bead
Hold the gun at a 45-degree angle to the joint with the angled tip facing the direction of travel. Apply steady, even trigger pressure as you pull the gun along the joint in one smooth motion. Aim to complete each side of a window or door without stopping. If you must pause, release the plunger pressure immediately to prevent oozing.
Tool the bead smooth
Within two to five minutes of application - before a skin forms - run a wet fingertip or caulk finishing tool along the bead in one continuous stroke. This presses the caulk into the joint for full contact and creates a concave, professional finish. For silicone, a fingertip dipped in soapy water prevents sticking.
Remove tape and allow to cure
If you used painter's tape, pull it away at a 45-degree angle immediately after tooling, before the caulk skins over. Allow the caulk to cure fully before exposing it to rain or heavy moisture - check the product label, but most exterior silicones require 24 hours. Latex caulk can typically be painted after one to two hours.
Troubleshooting Common Problems
Even with care, issues can arise. Here is how to handle the most frequent ones:
- Bead pulls away within days
- Almost always caused by applying over a damp, dirty, or oily surface. Remove the failed bead, clean and dry thoroughly, and reapply.
- Caulk cracks after curing
- The joint may be moving more than the caulk can flex. Switch to a higher-flexibility formulation, or check whether the framing or trim has an underlying structural issue.
- Bead looks lumpy or uneven
- Practice cutting a smaller opening in the tube tip. A 3/16-inch hole is sufficient for most window and door joints. Move at a steadier pace and apply consistent pressure.
- Mold appearing on or near the bead
- This indicates moisture is still entering from another path, or the previous caulk trapped water before application. Investigate flashing and weep holes, and ensure exterior caulk is never applied across weep slots at the window sill.
Never Caulk Over Weep Holes
Window frames are designed with small weep holes or slots along the bottom sill that allow any water that enters the frame system to drain outward. Blocking these with caulk forces water to accumulate inside the frame cavity, which can cause rot, mold, and long-term structural damage. Leave weep slots fully open when caulking the exterior sill area.