

Key Takeaways
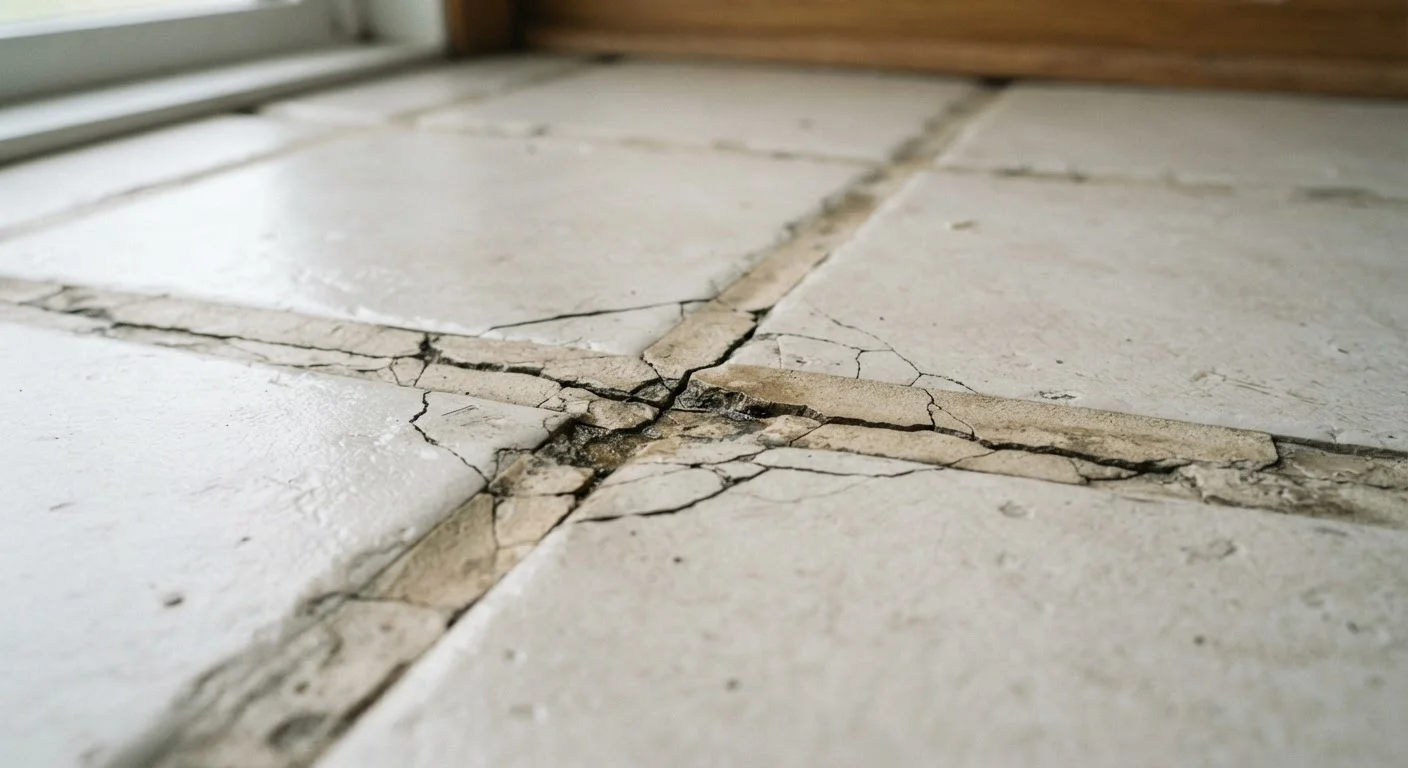
- Cracking grout is usually a symptom of an underlying structural or installation problem, not just surface wear.
- Regrouting over old, failing grout without addressing the cause will result in the same cracks returning.
- Proper surface prep, correct grout mix consistency, and adequate curing time are the three most critical repair factors.
- Movement joints and flexible sealants are essential in areas subject to thermal expansion or structural flex.
- Moisture infiltration through cracked grout can cause serious, expensive subfloor damage if left unaddressed.
Why Cracking Grout Is More Than a Cosmetic Problem
Grout serves as more than a decorative filler between tiles. It acts as a barrier against moisture, supports tile stability, and indicates the health of your installation as a whole. When grout cracks, it's the surface telling you something is wrong underneath - and ignoring it invites far costlier problems down the line.
Water that seeps through cracked grout can saturate the substrate beneath your tile, which may be cement board, plywood, or a mortar bed. Over time, that moisture causes swelling, mold growth, and structural rot. In bathrooms and kitchens especially, this damage can spread silently for months before it becomes visible. Addressing cracked grout early - and correctly - protects not just your tile work but the integrity of floors and walls behind it.
Regrouting without removing the old, damaged grout first.
Why it happens: Homeowners often assume applying new grout over cracked grout will seal and strengthen it, saving time and effort.
Ignoring substrate movement or tile flex before repairing the surface.
Why it happens: The crack appears to be a grout problem, so the grout gets repaired - but the real issue is that the subfloor or tile bond has failed and continues to move.
Mixing grout too wet or not following the stated water ratio.
Why it happens: A looser mix is easier to spread, so it's tempting to add extra water for workability, especially on a first attempt.
Skipping or removing expansion joints along walls and at material transitions.
Why it happens: Expansion joints interrupt the visual continuity of grout lines, so they're often grouted over during installation or repair.
Allowing grout to get wet before it has fully cured.
Why it happens: The grout looks dry and solid within hours, making it easy to underestimate how much time full curing actually takes.
How to Repair Grout That Actually Lasts
A durable grout repair follows a disciplined sequence. Skipping steps is the most common reason homeowners find themselves repeating the job within a year.
Step 1: Identify and Fix the Root Cause
Before touching the grout, determine why it cracked. Press gently on surrounding tiles - if any flex or feel hollow, the adhesive bond beneath has failed and those tiles must be reset before regrouting. If the cracking follows a straight line, especially near walls or transitions between flooring materials, the issue may be a missing expansion joint.
Step 2: Remove All Damaged Grout
Use a grout saw, oscillating tool with a grout-removal blade, or a rotary tool to remove all cracked or crumbling grout to a minimum depth of about 3mm (roughly ⅛ inch). Partial removal leads to poor adhesion. Vacuum out all dust and debris, then wipe the joints with a damp sponge and allow them to dry completely.
Beware of Hollow-Sounding Tiles
Before any grout repair, tap each nearby tile with a knuckle or the handle of a screwdriver. A hollow or drum-like sound indicates that the tile has debonded from the substrate - a condition called 'tenting.' Regrouting over debonded tiles will not hold, and in some cases those tiles may crack or lift entirely. Debonded tiles must be removed and reset before the surface can be regrouted.
Step 3: Mix and Apply New Grout Correctly
Follow the manufacturer's mixing instructions precisely - grout that is too wet shrinks more as it cures, which is a leading cause of new cracks. Apply grout diagonally across the joints using a rubber float, pressing firmly to eliminate voids. Work in small sections so the grout doesn't begin setting before you can finish.
Step 4: Clean and Cure Properly
Remove haze from the tile surface with a damp sponge before the grout fully hardens, typically within 20-30 minutes of application. Allow the repair to cure undisturbed - most cement-based grouts require at least 24 hours before light foot traffic and 72 hours before exposure to water. Rushing this phase is one of the most common reasons repairs fail prematurely.
Step 5: Seal the Finished Grout
Once fully cured, apply a penetrating grout sealer to cement-based grouts (epoxy grouts do not require sealing). Sealing reduces moisture absorption and extends the life of the repair significantly. Reapply sealer annually in wet areas.
~20%
Tile failures linked to substrate movement
Industry estimates from the Tile Council of North America suggest a significant share of tile and grout failures trace back to inadequate substrate preparation or movement rather than the grout material itself.
72 hrs
Minimum cure time before water exposure
Most standard cement-based grouts require at least 72 hours of dry curing before exposure to water, according to general manufacturer guidance across the category.