

Key Takeaways
- Surface preparation between coats is just as important as the initial sanding.
- Temperature, humidity, and ventilation directly affect how well finish cures.
- Thin, even coats prevent bubbles, lap marks, and uneven sheen.
- Choosing the right applicator for your finish type significantly improves results.
- Allowing full cure time before heavy furniture use protects your investment.
Why Finishing Is Where Most DIY Refinishes Go Wrong
Sanding a hardwood floor is hard work, but it's the finishing stage that determines whether the final result looks professional or amateurish. Many homeowners sand diligently, then rush through the coating process - and that's where problems like bubbles, streaks, and premature peeling originate. Understanding a few key principles before you open the first can of finish can save you hours of remediation.
Hardwood floor finishes - typically oil-modified polyurethane, water-based polyurethane, or penetrating oil - each behave differently and require specific handling. What works well for one product can ruin another. Always read the manufacturer's instructions fully before starting, and note requirements for recoat windows, temperature ranges, and compatible applicators.
Know Your Finish Before You Start
Oil-modified polyurethane, water-based polyurethane, and penetrating oil finishes are not interchangeable in their application methods. Oil-modified products have a longer open time and amber tone; water-based products dry faster and remain clear. Always confirm which type you have before selecting tools, planning your schedule, or purchasing additional coats.
Essential Practices for a Flawless Finish
The following practices apply broadly to most film-forming finishes used on residential hardwood floors. Adjust specifics based on your chosen product.
Screen and tack between every coat to ensure adhesion
Each coat of finish needs a lightly abraded surface to bond to. Skipping this step - called screening or buffing - results in delamination, where the top coat peels away from the layer beneath. A pole sander with 120- to 220-grit screen mesh is typically used, followed by a thorough vacuuming and tack cloth wipe.
Apply finish in thin, even coats with the wood grain
Thick coats trap air, take longer to dry unevenly, and are prone to bubbling and sagging. Working in long, steady strokes parallel to the grain minimizes lap marks and allows each section to flow into the next before it sets.
Control your environment: keep temperature between 60-80°F and humidity below 70%
Finish cures through a chemical or evaporative process that is highly sensitive to ambient conditions. Low temperatures can slow curing and cause cloudiness; high humidity introduces moisture that disrupts film formation and leads to a milky or blush appearance.
Match your applicator to your finish type
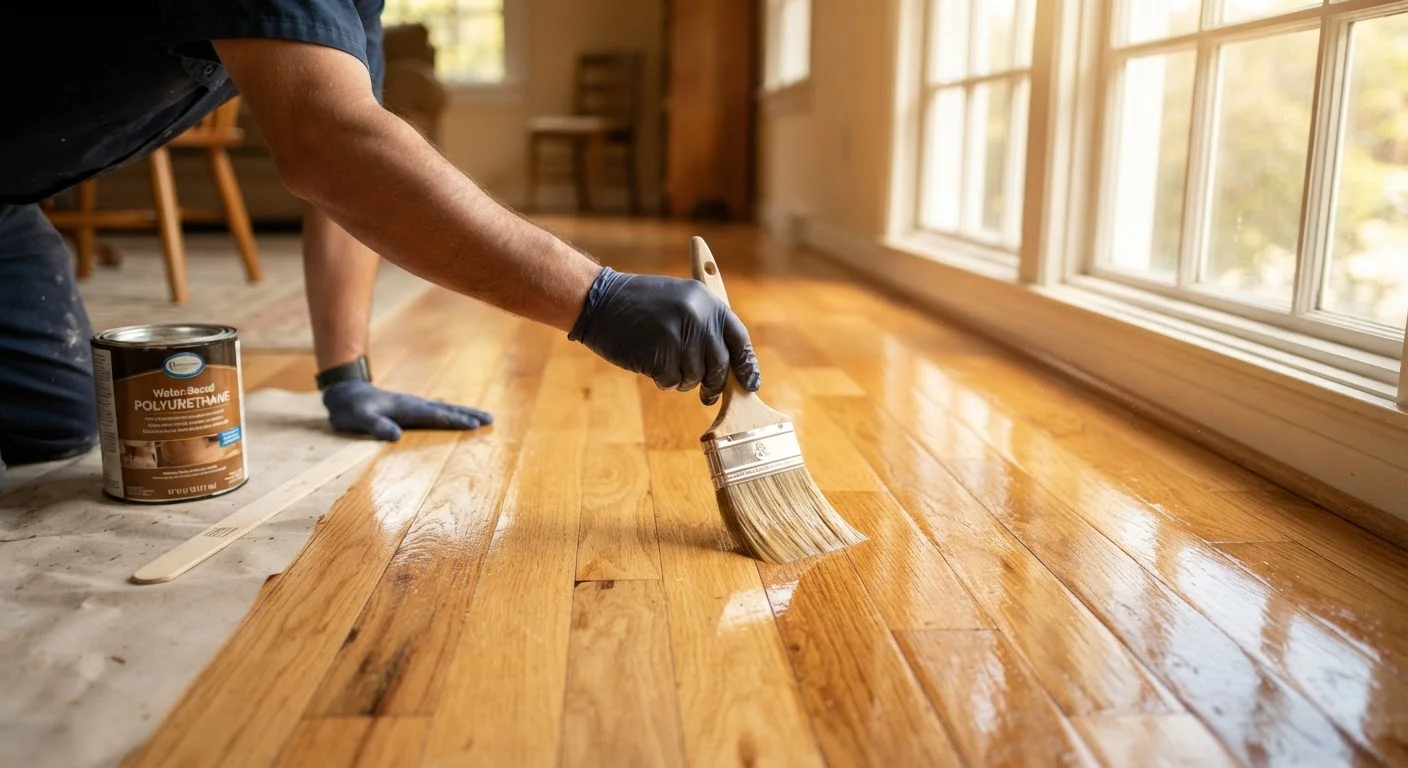
Lambswool applicators work well with oil-modified finishes but can introduce bubbles with water-based products. Water-based finishes typically perform better with synthetic-fiber applicators or foam rollers rated for water-based coatings. Using the wrong tool disturbs surface tension and leaves bubbles or streaks.
Maintain a wet edge and avoid overworking the finish
Once finish begins to set - typically within a few minutes of application - going back over it drags the partially cured film and creates visible marks. Planning your path through the room before you start lets you work efficiently without backtracking.
Allow the full manufacturer-specified recoat window between coats
Applying a second coat too early traps solvents and prevents the first coat from curing correctly, leading to soft spots or adhesion failures. Waiting too long beyond the recoat window may require additional screening to reopen the surface for bonding.
Quick-Start Actions You Can Take Today
Before you even crack open a can, a few preparatory steps will dramatically improve your outcome. These actions are low-effort and high-impact.
Understanding Cure Time vs. Dry Time
One of the most common - and costly - mistakes homeowners make is confusing dry time with cure time. A finish may feel dry to the touch within a few hours, but full hardness (cure) often takes 7 to 30 days depending on the product and environmental conditions. Walking on a floor too soon, or replacing heavy furniture before the finish has fully cured, can leave permanent dents, scratches, and scuff marks that are difficult to repair without re-coating.
During the cure period, keep the space as free from foot traffic as possible. Use felt pads under any furniture you must place on the floor early, and avoid throwing rugs for at least the first few weeks - some rug backings can trap moisture and interfere with curing. This patience pays off in durability that can last a decade or more.
7-30 days
Typical full cure time for polyurethane floor finish
Manufacturers generally specify cure windows ranging from one week to one month depending on product type and environmental conditions.
3-5 coats
Recommended coats for high-traffic areas
Flooring industry guidance generally suggests a minimum of three coats in living areas, with four to five recommended for entryways and hallways.
The care you invest in finishing hardwood floors shares similarities with other home coating projects. Just as choosing the right sheen matters in interior paint finishes, selecting and applying the right floor finish for your traffic level and lifestyle is what makes the difference between a surface that merely looks good and one that holds up under daily life.
This article provides general guidance for informational purposes. Always verify local building codes and consult a licensed flooring professional if you are unsure about structural concerns, adhesive products, or refinishing over engineered hardwood.