

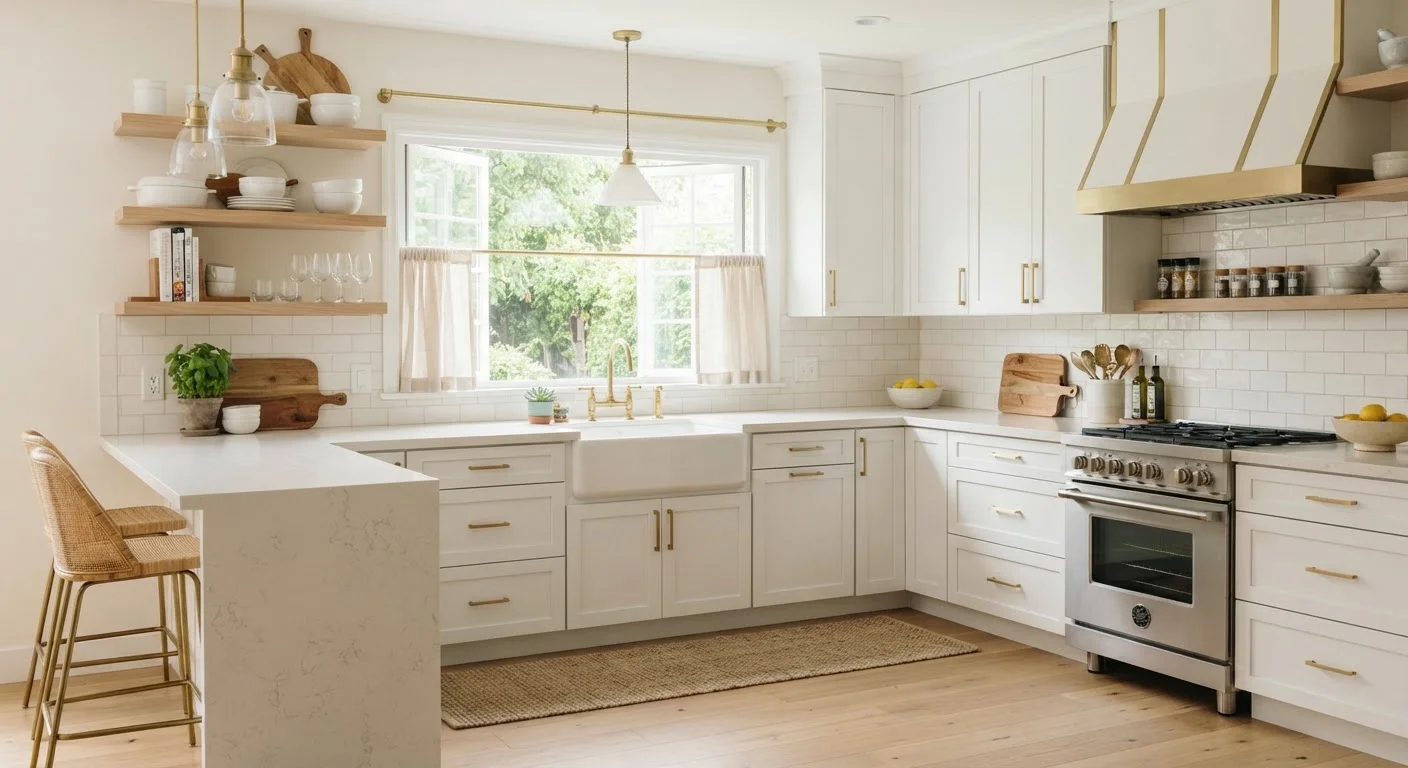
Key Takeaways
- Repainting or refinishing cabinet boxes is one of the most cost-effective ways to transform a kitchen.
- Refacing replaces just the doors and drawer fronts, preserving existing cabinet structure.
- New hardware, pull-out inserts, and lighting can significantly improve both function and appearance.
- Most of these upgrades can be phased over time, allowing homeowners to manage costs incrementally.
- Proper surface prep and material selection are critical factors that determine how long results last.
Why Upgrade Instead of Replace?
A full kitchen gut renovation is one of the costliest home improvement projects a homeowner can undertake. Cabinet replacement alone - including materials and labor - can run tens of thousands of dollars depending on kitchen size and cabinet quality. But for many kitchens, the underlying cabinet boxes are structurally sound; it's the surfaces and hardware that have aged.
Targeted upgrades address exactly that problem. Whether your goal is a fresh aesthetic, better storage, or improved functionality, there's a solid range of options that stop well short of demo day. If you're also rethinking how space is used throughout your home, our room-by-room organization audit can help you identify the biggest gaps before you start any work.
Below are seven upgrades worth evaluating based on your cabinet's current condition, your budget, and how much hands-on work you're comfortable tackling.
Repaint the Cabinet Boxes and Doors
Painting is the highest-impact, lowest-disruption cabinet upgrade available. When done correctly, a quality paint job can last many years and completely shift the visual character of a kitchen. The critical variable is preparation: surfaces must be thoroughly cleaned to remove grease, lightly sanded to create adhesion, and primed before topcoats are applied.
For cabinet interiors and boxes, a water-based alkyd or cabinet-specific enamel holds up to daily wear better than standard wall paint. Semi-gloss or satin sheens are easier to wipe clean than matte finishes. Remove doors and hardware before painting whenever possible - it produces cleaner edges and more even coverage than painting in place.
Proper surface prep is the single biggest factor in how long a repaint lasts.
Reface the Doors and Drawer Fronts
Refacing involves replacing just the visible door and drawer-front panels while keeping the existing cabinet frames in place. This makes sense when door surfaces are too damaged or warped to paint effectively, or when you want a different door style - such as switching from raised panel to shaker - without full replacement.
Cabinet refacing kits are available in wood veneer, rigid thermofoil, and laminate. The frame exteriors are typically covered with matching veneer tape or thin sheet material. Costs vary considerably by material and kitchen size, but refacing is generally a fraction of full cabinet replacement. Most refacing projects do require precise measurement and moderate woodworking comfort to execute cleanly.
Refacing changes door style and surface without disturbing functional cabinet structure.
Swap Out Hardware Across All Cabinets
Hardware is one of the fastest, most affordable cosmetic upgrades in any kitchen. Pulls, knobs, and hinges contribute significantly to the overall aesthetic - and mismatched or worn hardware can undercut an otherwise well-maintained kitchen.
When replacing pulls, measure the center-to-center hole spacing carefully before purchasing. Many standard pulls use 3-inch or 3.75-inch spacing, but this varies. If you're changing hole patterns, wood filler and touch-up paint can address old holes, though this adds steps. Concealed soft-close hinges are a functional upgrade worth adding at the same time - they eliminate slamming and are generally straightforward to install with basic tools.
Measuring existing hole spacing before purchasing pulls prevents costly returns and extra patching.
Install Pull-Out Shelves and Interior Organizers
Deep base cabinets are notorious for swallowing items into inaccessible corners. Pull-out shelf systems - sliding trays mounted on drawer slides inside existing cabinet openings - solve this problem without any structural change. Most systems are designed to fit standard cabinet widths and install with a drill and basic fasteners.
Beyond pull-outs, consider drawer organizers for utensil storage, tiered shelf risers inside upper cabinets, or door-mounted racks for spices and small items. These changes are especially impactful in compact kitchens. For a comprehensive approach to small-kitchen storage, our article on maximizing cabinet space without a pantry covers additional strategies.
Pull-out shelves can double the usable storage in standard base cabinets with minimal effort.
Add or Retrofit Under-Cabinet Lighting
Under-cabinet lighting improves both task visibility and ambiance without touching cabinet structure. LED strip lights and puck lights are the most common options. Plug-in varieties require no electrical work and install with adhesive or small screws, making them accessible to most DIYers. Hardwired systems produce a cleaner look with no visible cords but typically require an electrician, especially if new circuits or junction boxes are involved.
When planning under-cabinet lighting, consider color temperature: warm white (2700-3000K) suits most kitchen aesthetics, while cooler temperatures (4000K+) may improve visibility for detailed food prep. Dimmer compatibility varies by fixture, so verify before purchasing if adjustable brightness is a priority.
Plug-in LED strips can be installed in an afternoon and require no electrical permits.
Convert Solid Doors to Open Shelving
Removing one or two upper cabinet doors and styling those shelves as open display areas is a relatively low-commitment way to create visual interest and accessibility. This works well in kitchens where upper cabinets are in good condition but the overall look feels heavy or dated.
Before removing doors, assess what you plan to store on open shelves - frequently used items work best since they'll be more visible and easier to reach. The exposed cabinet interior will likely need to be painted or lined, since the finish on the inside of most cabinets differs from the exterior. This upgrade pairs naturally with a full repaint of the remaining closed cabinets to give the kitchen a cohesive look.
Open shelving works best when stocked with items you use and access frequently.
Add Glass Panel Inserts to Existing Doors
Inserting glass panels into solid cabinet doors is a classic way to add visual lightness and a more custom look. The process typically involves routing or cutting an opening in the existing door and fitting a glass pane - usually with a rabbet or stop molding to hold it in place. This is a moderate woodworking task that benefits from a router and accurate measurements.
Glass options range from clear to frosted, seeded, or reeded - each offering different levels of visibility and light diffusion. Frosted or reeded glass is a practical choice if the interior organization of those cabinets is inconsistent. For an even simpler version, some homeowners remove the center panel entirely for an open lattice effect without adding glass at all.
Glass inserts add visual depth and light without requiring new cabinet doors.
Choosing the Right Upgrade for Your Situation
Not every approach suits every kitchen. Repainting works best when cabinet boxes and doors are in good structural shape with smooth, cleanable surfaces. Refacing makes more sense when doors are warped or badly damaged but frames are solid. Hardware swaps and interior inserts are almost universally applicable, and they're particularly valuable in smaller kitchens - see our guide on organizing a small kitchen without a pantry for ideas on maximizing every inch.
Phase Your Upgrades to Manage Costs
You don't have to tackle every upgrade at once. Starting with hardware and interior organizers delivers immediate functional improvement at modest cost, while repainting or refacing can follow later as budget allows. Phasing work also gives you time to evaluate what's actually making a difference in day-to-day use before committing to larger changes.
If you're drawn to larger structural changes - like removing upper cabinets to open sight lines - review the trade-offs of open-concept renovations before committing. Some modifications involve load-bearing considerations or ventilation changes that require professional assessment and local permits.
Whatever combination of upgrades you choose, document your cabinet dimensions and existing materials before purchasing anything. A methodical approach - even on modest projects - saves time, reduces waste, and tends to produce results that last.