

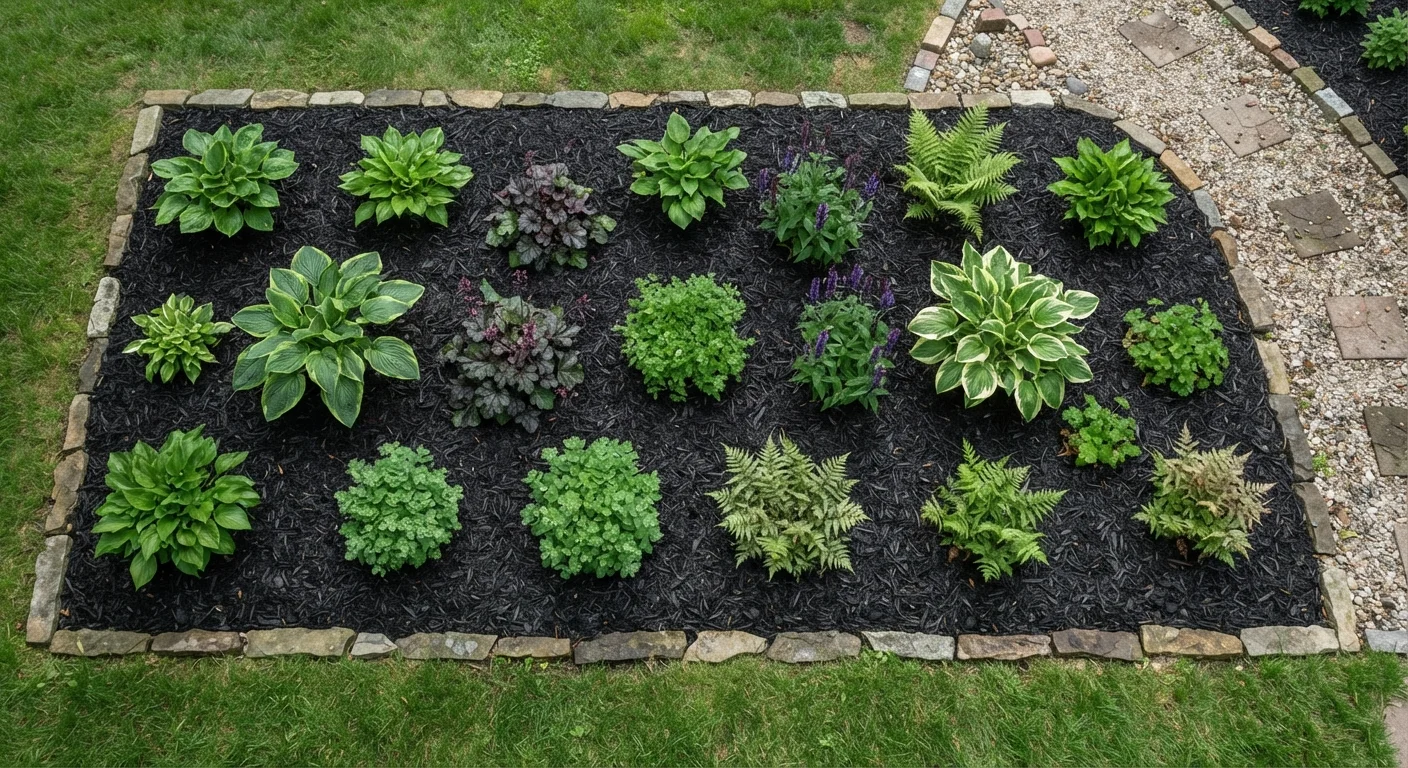
Key Takeaways
- Apply mulch 2-4 inches deep to suppress weeds and retain soil moisture effectively.
- Keep mulch pulled back 2-3 inches from plant stems to prevent rot and pest damage.
- Spring and fall are the two best times to mulch most garden beds in most US climates.
- Organic mulches like wood chips or shredded leaves break down to improve soil health over time.
- Inorganic mulches such as gravel last longer but do not add nutrients to the soil.
What you will need
Why Mulching Matters for Your Garden
Mulch is one of the most cost-effective tools in any gardener's arsenal. A properly applied layer does three things at once: it slows soil moisture evaporation so you water less frequently, it moderates extreme soil temperatures that stress plant roots, and it blocks sunlight from reaching weed seeds so fewer germinate in the first place. Over time, organic mulches also decompose and feed the soil's microbial ecosystem - which is exactly the kind of long-term dividend that healthy soil biology rewards.
Mulching is especially valuable if you're working with established planting schemes. Whether you've got a mixed bed of perennials or a combination of annuals and short-lived plants - an approach explored in our guide on planning a garden that works year after year - a consistent mulching routine reduces maintenance and keeps beds looking intentional and well-tended.
Mulch Improves More Than Weed Control
Consistent mulching year over year gradually builds organic matter in the top layer of your soil. As mulch decomposes, it feeds earthworms and beneficial microbes that improve soil structure and nutrient availability. Think of mulching as a long-term investment in your garden's foundation, not just a seasonal chore.
Choosing the Right Mulch Material
Mulch broadly divides into two categories: organic and inorganic. Each has trade-offs worth understanding before you load up a wheelbarrow.
Organic Mulches
- Shredded bark or wood chips: Long-lasting, widely available, and attractive. Best for ornamental beds and around trees and shrubs. Hardwood chips break down slowly; pine bark is more acidic, which suits acid-loving plants like azaleas and blueberries.
- Shredded leaves: An excellent free resource in fall. They decompose relatively quickly, enriching soil structure - a perfect complement to home composting practices.
- Straw: Lightweight and ideal for vegetable beds. It breaks down in one season and keeps soil loose. Avoid hay, which can introduce weed seeds.
- Grass clippings: Useful in thin layers (under 1 inch) to avoid forming a water-repelling mat.
Inorganic Mulches
- Gravel or crushed stone: Permanent, low-maintenance, and excellent for drainage. Common around Mediterranean or drought-tolerant plantings. Does not improve soil fertility.
- Landscape fabric: Suppresses weeds when installed properly but can degrade over time and is difficult to remove. Generally not recommended for vegetable beds or areas with frequent replanting.
Garden rake
Spreads and levels mulch evenly across the bed surface.
Wheelbarrow
Transports bulk mulch from a delivery pile to individual garden beds.
Garden gloves
Protects hands when handling bark mulch, which can cause splinters.
Measuring tape
Used to calculate bed dimensions for accurate mulch quantity estimates.
Garden hoe or hand weeder
Removes weeds from the bed before mulch is applied.
Garden fork
Loosens compacted soil surface before mulching to improve drainage.
When to Mulch: Timing by Season
Timing matters as much as material. Mulching at the wrong moment can trap cold soil in spring or prevent the ground from insulating roots before winter.
- Spring: Apply after the soil has warmed - typically when daytime temperatures stay consistently above 50°F. Mulching too early in spring locks in cold, delaying root activity. Spring mulching is a key step in your spring garden readiness checklist.
- Fall: Apply after the first hard frost in your region. This protects roots from repeated freeze-thaw cycles through winter without insulating the ground so much that it stays warm and delays dormancy.
- Summer top-up: If your mulch layer has thinned below 2 inches by midsummer, a light refresh helps maintain moisture retention during peak heat.
Regional climate matters here. Gardeners in USDA zones 9-11 can mulch nearly year-round, while those in zones 4-6 need to be more deliberate about timing around frost dates.
How to Apply Mulch Correctly
Follow these steps to mulch garden beds properly and avoid the most common application mistakes.
Clear and prepare the bed
Remove existing weeds by hand or with a hoe, getting as much of the root system as possible. Rake out dead plant debris. If the soil is compacted, lightly loosen the top inch or two with a garden fork - this improves water infiltration before you lay the mulch.
Measure and calculate how much mulch you need
To cover a bed at 3 inches of depth, you need approximately 1 cubic yard of mulch for every 108 square feet of bed area. Measure your bed's length and width, multiply for total square feet, then divide by 108 to get cubic yards needed. Most mulch is sold by the cubic yard in bulk or as bagged 2-cubic-foot units.
Apply mulch to the correct depth
Spread mulch evenly across the bed to a depth of 2-4 inches. Aim for 2 inches in areas with shade or heavy clay soil where drainage is slow, and up to 4 inches in sunny, fast-draining beds. Use a garden rake to distribute the material evenly. Avoid piling mulch thicker than 4 inches - excessively deep mulch can become anaerobic and produce compounds harmful to plant roots.
Keep mulch away from plant stems and tree trunks
Pull the mulch back so there is a clear gap of at least 2-3 inches around the base of every plant, shrub, or tree trunk. Mulch piled against stems traps moisture against the bark, creating conditions for rot, fungal infections, and pest harborage. This is particularly important for woody plants and young transplants.
Water lightly after application
After spreading, give the mulch a light watering to help it settle into place and make contact with the soil surface below. This also helps prevent lightweight materials like straw from blowing away in wind. You do not need to soak the bed - the goal is simply to dampen and anchor the top layer.
Maintaining Your Mulch Layer Over Time
Mulch is not a one-time application. Organic types decompose - which is actually a benefit, since they add organic matter to the soil - but this means the layer thins over months. Plan to inspect and refresh beds at least once a year, ideally each spring. Rake the existing mulch gently to break up any crust that has formed on the surface, then top up to restore the 2-4 inch depth.
Watch for signs that your mulch is working against you: a white or grey crust on the surface may indicate a hydrophobic mat has formed, which can actually shed water rather than retain it. If this happens, rake thoroughly before adding fresh material.
If you're working with raised beds, the same principles apply - see our comparison of raised beds vs. in-ground planting for how bed type influences moisture management. And remember that even well-mulched gardens benefit from smart watering practices - it's worth checking which common watering myths might be undermining your results.
Watch for Mulch Mold and Fungus
In humid conditions or if mulch is applied too thickly, slime molds and artillery fungus can develop. Slime molds are generally harmless to plants but can be unsightly. Artillery fungus, common in wood chip mulch, ejects sticky spores that are difficult to remove from surfaces like siding or cars. Raking your mulch periodically and avoiding excessive depth reduces the likelihood of these issues.